
끄적이는 개발노트
React Native - Font 적용하기 본문
대부분 어플을 만드는 입장이라면 기본 글꼴보다는 본인 어플 테마에 맞는 글꼴을 선호한다.
글꼴을 적용하고 글로벌하게 기본 폰트로 적용하기 위한 방법을 설명한다.
1. 폰트 다운로드
Browse Fonts - Google Fonts
Making the web more beautiful, fast, and open through great typography
fonts.google.com
원하는 폰트를 찾아서 다운로드를 받으면 된다.
유의할 점은 본인이 사용하고자 하는 언어, 굵기가 지원이 되는 글꼴인지 확인할 필요가 있다.
혹시, 다른 글꼴을 원한다면 유의사항을 참고하면서 원하는 글꼴을 찾은 후, 다운로드 받으면 된다.
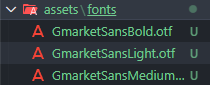
2. 폰트 파일 추가
assets 폴더 안에 fonts 폴더를 만들고 그 안에 파일들을 넣어주면 된다.
3. 폰트 설정
react-native.config.js 파일을 root에 만들고, 글꼴을 저장한 위치를 연결한다.
// react-native.config.js

module.exports = {
  assets: ['assets/fonts'],
};
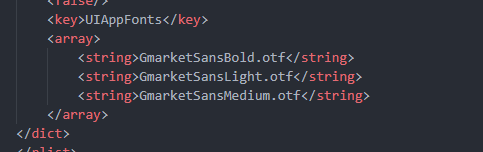
4. 폰트 플랫폼 적용
// React Native Version > 0.69
npx react-native-asset

// React Native Version <= 0.69
react-native link
터미널에 위 명령어를 실행하면
● android : android/app/src/main/assets/fonts
● ios : info.plist
각각에 폰트가 적용된 것을 확인할 수 있다.

5. 폰트 코드 적용
// App.tsx

import {SafeAreaView, Text, View} from 'react-native';
import './global.css';

const App = () => {
  return (
    <SafeAreaView className="flex-1">
      <View className="w-full h-full flex justify-center items-center bg-white">
        <Text
          className="text-success text-base"
          style={{fontFamily: 'GmarketSansMedium'}}>
          폰트 적용!
        </Text>
      </View>
    </SafeAreaView>
  );
};

export default App;
사용방법은 위와 같이 매우 간단하다.
6. 커스텀 폰트 글로벌 적용
사용방법은 간단하지만 매번 적용하기에는 많은 번거로움이 발생하고, 유지보수에도 어려움이 발생한다.
따라서, 컴포넌트화를 통해 글로벌하게 사용하는 것이 유리하다.
(라이브러리로도 방법이 있지만, 에러 발생 및 어플 출시를 하는 과정에서 어플 사이즈를 줄이기 위해서는 가급적 간단하거나 본인 입맛에 맞게 수정이 필요한 컴포넌트들은 라이브러리 사용은 지양하는 편이 좋다.)
// src/components/text.tsx

import {Text} from 'react-native';

const CustomText = (props: any) => {
  return (
    <Text style={[{fontFamily: 'GmarketSansMedium'}, props.style]} {...props}>
      {props.children}
    </Text>
  );
};

export default CustomText;
// App.tsx
import {SafeAreaView, View} from 'react-native';
import './global.css';
import CustomText from './src/components/text';
const App = () => {
return (
<SafeAreaView className="flex-1">
<View className="w-full h-full flex justify-center items-center bg-white">
<CustomText
className="text-success text-xl"
children="폰트 적용"
/>
</View>
</SafeAreaView>
);
};
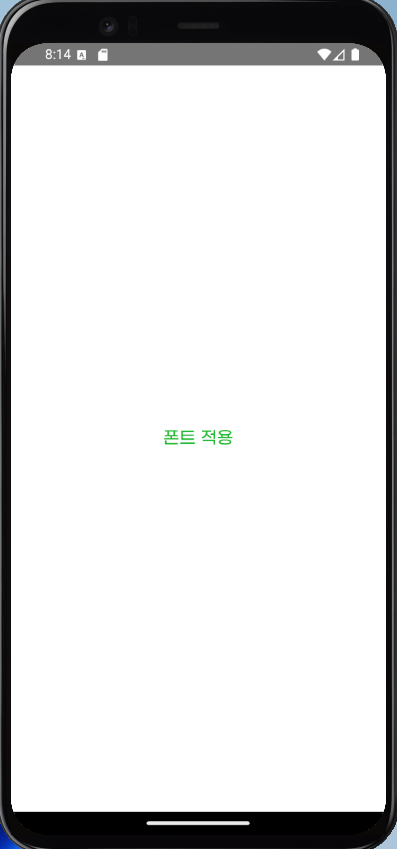
export default App;
위와 같이 CustomeText 컴포넌트를 만들고 실행해보면 아래와 같이 잘 적용된 것을 확인할 수 있다.
'React Native' 카테고리의 다른 글
| React Native - Navigation (1) | 2025.01.23 |
|---|---|
| React Native - 절대 경로 (0) | 2025.01.21 |
| React Naitve - CSS 적용 방법 (with StyleSheet / NativeWind) (0) | 2025.01.21 |
| React Native - 환경설정 (2) / 프로젝트 생성 (0) | 2023.07.13 |
| React Native - 환경설정(1) / Android Studio 설치 (0) | 2023.07.13 |


