
끄적이는 개발노트
React Navigation - Bottom Tabs Navigator 본문
728x90
예전에 expo로 간단한 어플을 만들 때도 하단에 위치한 Bottom Tabs Navigator를 활용했었다.
이번에도 마찬가지로 메인 메뉴가 4개인 어플을 만들다보니 가장 깔끔한 하단 메뉴를 활용했다.
다음에는 가급적이면 Drawer를 활용해서 만들어봐야겠다.
1. 설치
npm install @react-navigation/bottom-tabs
#or
yarn add @react-navigation/bottom-tabs
2. 코드
코드는 매우 간단한데, createBottomTabNavigator를 활용해 Stack이 아닌 Tab을 활용해주면 된다.
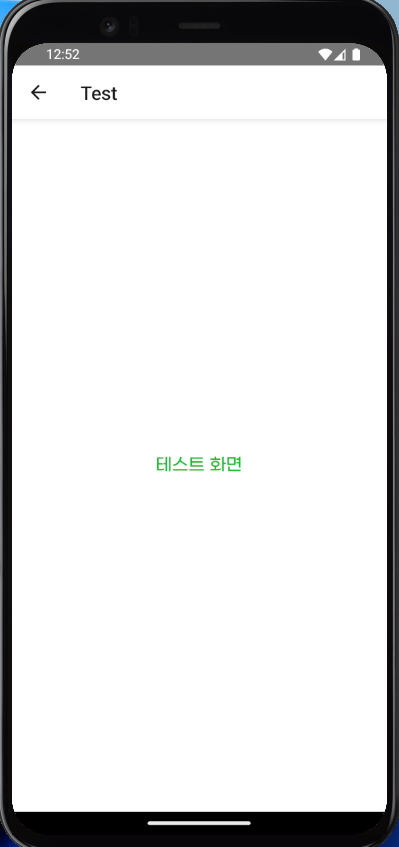
다만, Stack을 통해 부수적인 화면이 필요한 경우, 이를 혼용해서 써야 한다. 이럴 때, Stack으로 전체를 감싸준 후 TabStack을 initialRouteName에 해당하게끔 지정해주고 그 아래에 필요한 화면들을 추가해주면 된다.
// Navigation.tsx

import DetailScreen from '@/screen/detail';
import HomeScreen from '@/screen/home';
import TestScreen from '@/screen/test';
import {StackParamList} from '@/types/stack';
import {createBottomTabNavigator} from '@react-navigation/bottom-tabs';
import {NavigationContainer} from '@react-navigation/native';
import {createNativeStackNavigator} from '@react-navigation/native-stack';

const Stack = createNativeStackNavigator<StackParamList>();
const Tab = createBottomTabNavigator<StackParamList>();

const TabStack = () => {
  return (
    <Tab.Navigator>
      <Tab.Screen
        name="Home"
        component={HomeScreen}
        options={{
          headerShown: true,
          headerShadowVisible: false,
          headerTintColor: '#000000',
          headerTitleStyle: {
            fontFamily: 'GmarketSansMedium',
          },
          headerTitleAlign: 'center',
          headerTitle: '홈',
          tabBarIcon: ({focused, size, color}) => null,
        }}
      />
      <Tab.Screen
        name="Detail"
        component={DetailScreen}
        options={{
          headerShown: true,
          headerShadowVisible: false,
          headerTintColor: '#000000',
          headerTitleStyle: {
            fontFamily: 'GmarketSansMedium',
          },
          headerTitleAlign: 'center',
          headerTitle: '상세정보',
          tabBarIcon: ({focused, size, color}) => null,
        }}
      />
    </Tab.Navigator>
  );
};

const Navigation = () => {
  return (
    <NavigationContainer>
      <Stack.Navigator
        initialRouteName="Main"
        screenOptions={{headerShown: false, animation: 'flip'}}>
        <Stack.Screen name="Main" component={TabStack} />
        <Stack.Screen name="Test" component={TestScreen} />
      </Stack.Navigator>
    </NavigationContainer>
  );
};

export default Navigation;
기록을 위한 간단한 예제이다 보니 tabBarIcon을 null로 지정해놨지만, screen에 맞는 icon을 지정하여 focused 여부에 따라 설정해주면 된다. icon은 라이브러리, svg 등을 활용하면 간단하게 추가할 수 있다.
마찬가지로, typescript를 위한 stack.ts 파일에서도 TabStack을 선언하기 위한 name과 각 화면들을 넣어주면 끝난다.
// stack.ts

import {NativeStackScreenProps} from '@react-navigation/native-stack';

export type StackParamList = {
  Main: undefined;
  Home: undefined;
  Detail: undefined;
  Test: undefined;
};

export type HomeProps = NativeStackScreenProps<StackParamList, 'Home'>;
export type DetailProps = NativeStackScreenProps<StackParamList, 'Detail'>;
export type TestProps = NativeStackScreenProps<StackParamList, 'Test'>;
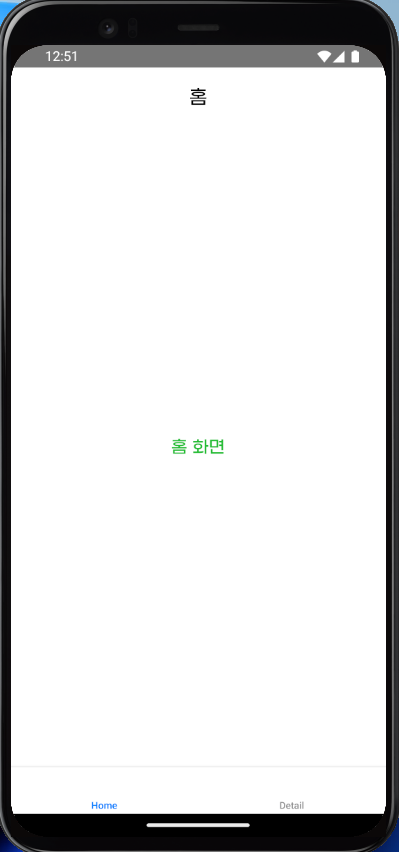
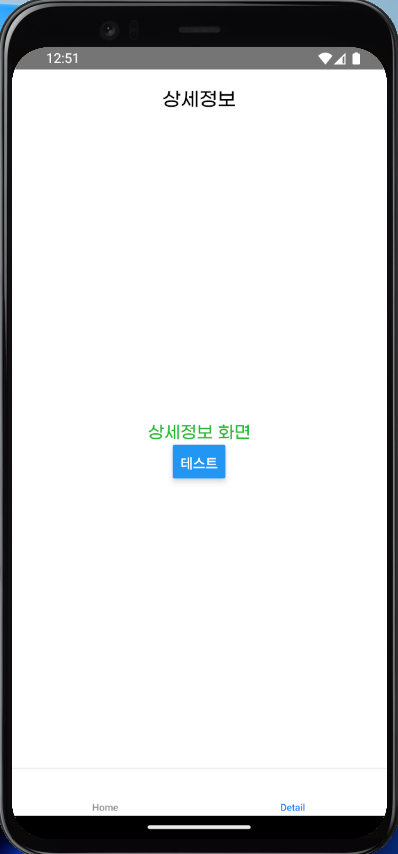
3. 실행
위에 언급했듯이 icon을 null로 지정해놔서 예제 화면에서는 볼 품 없지만, icon 추가와 디자인을 적용하면 보기 좋은 bottom tab을 구성할 수 있다.
728x90
'React Native' 카테고리의 다른 글
| React Native - 네트워크 확인 (@react-native-community/netinfo) (0) | 2025.01.26 |
|---|---|
| React Native - SVG 적용 (0) | 2025.01.25 |
| React Native - Navigation (1) | 2025.01.23 |
| React Native - 절대 경로 (0) | 2025.01.21 |
| React Native - Font 적용하기 (0) | 2025.01.21 |
'React Native' Related Articles
more


